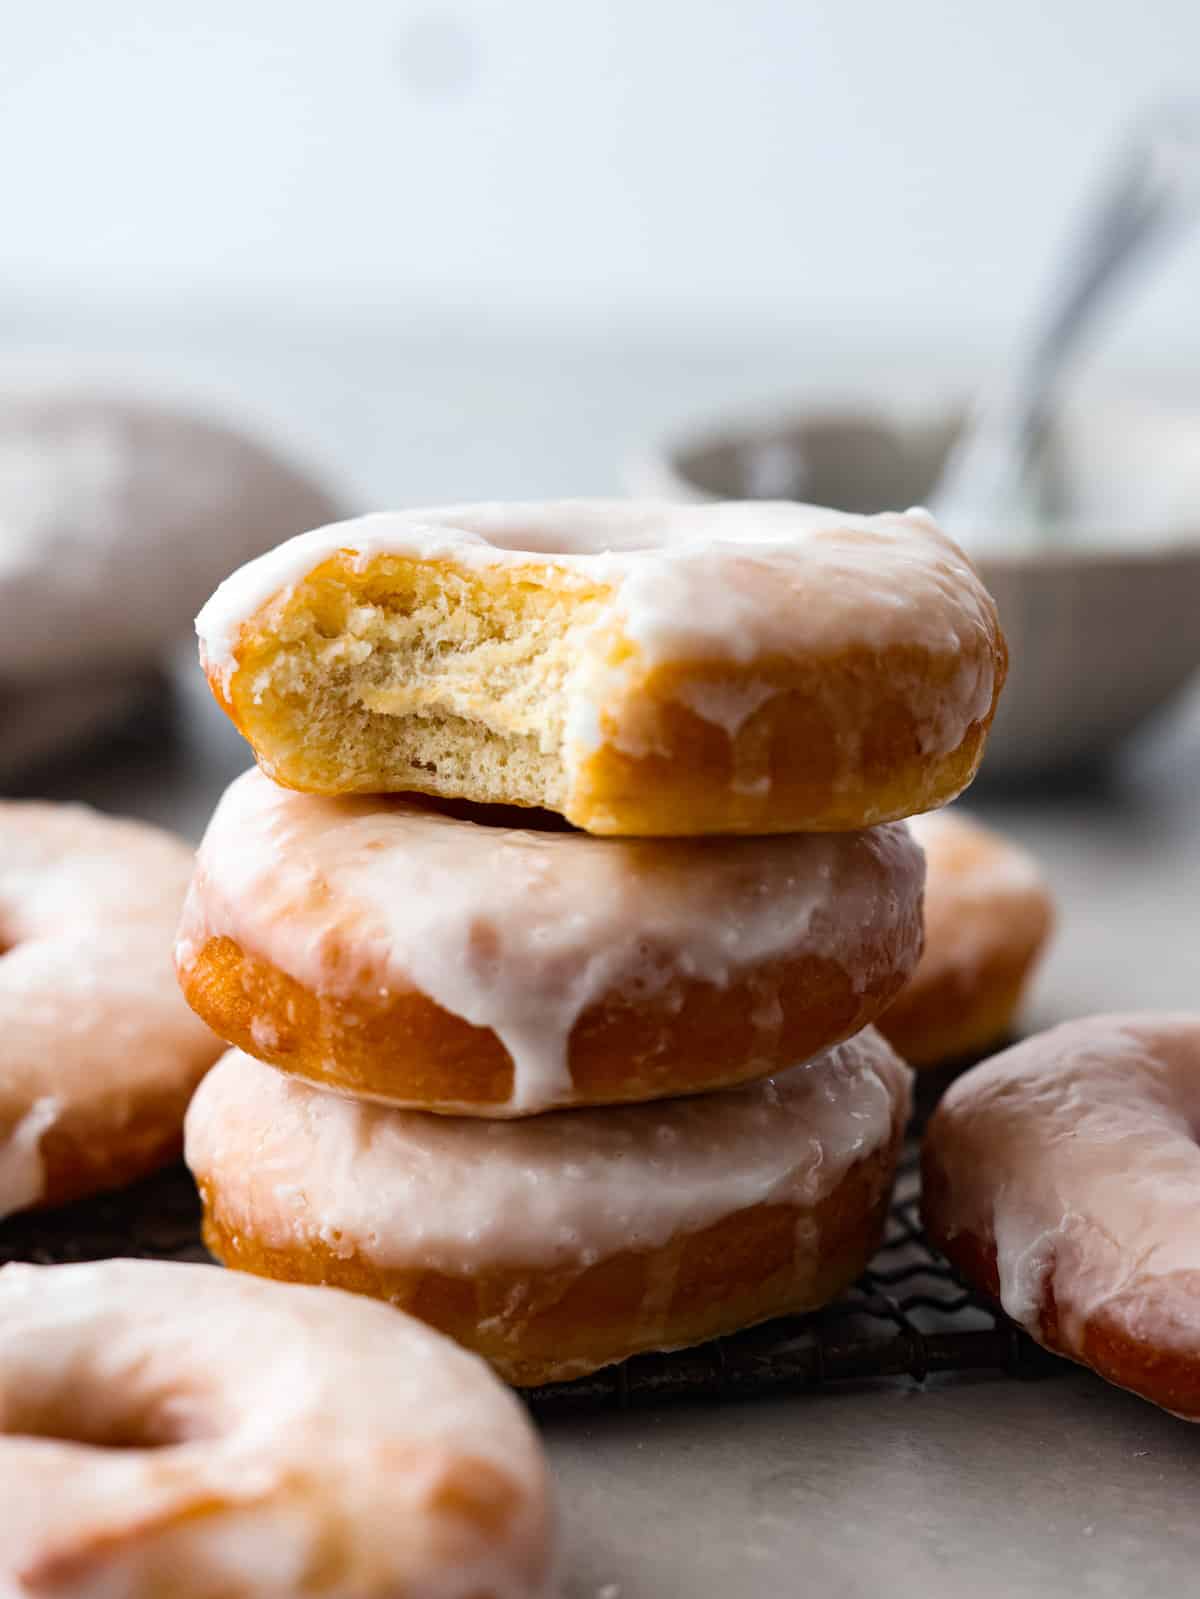
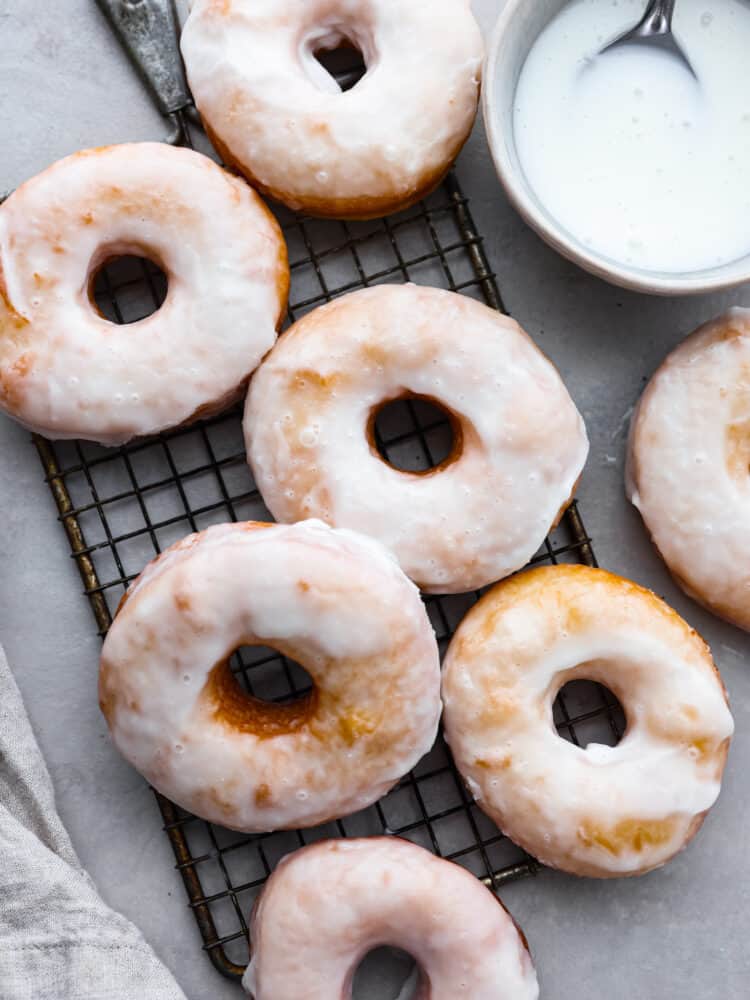
Homemade glazed donuts are light and fluffy with a perfectly moist inside and a sweetened glazed outside. They are the ultimate treat and super easy to make at home, which makes them the perfect dessert for any occasion. Seriously, who doesn’t want a freshly fried homemade donut?!
Donuts are the ultimate crowd pleaser! Not to mention they are super fun to make at home. The dough is super simple to whip up, and if you are intimidated by frying them (or want to cut down on calories) you can try these simple baked cake donuts or my air fryer donut recipe instead. If you aren’t quite ready to jump into the doughnut dough, you can try these super easy and delicious donut muffins. They are always a hit too!
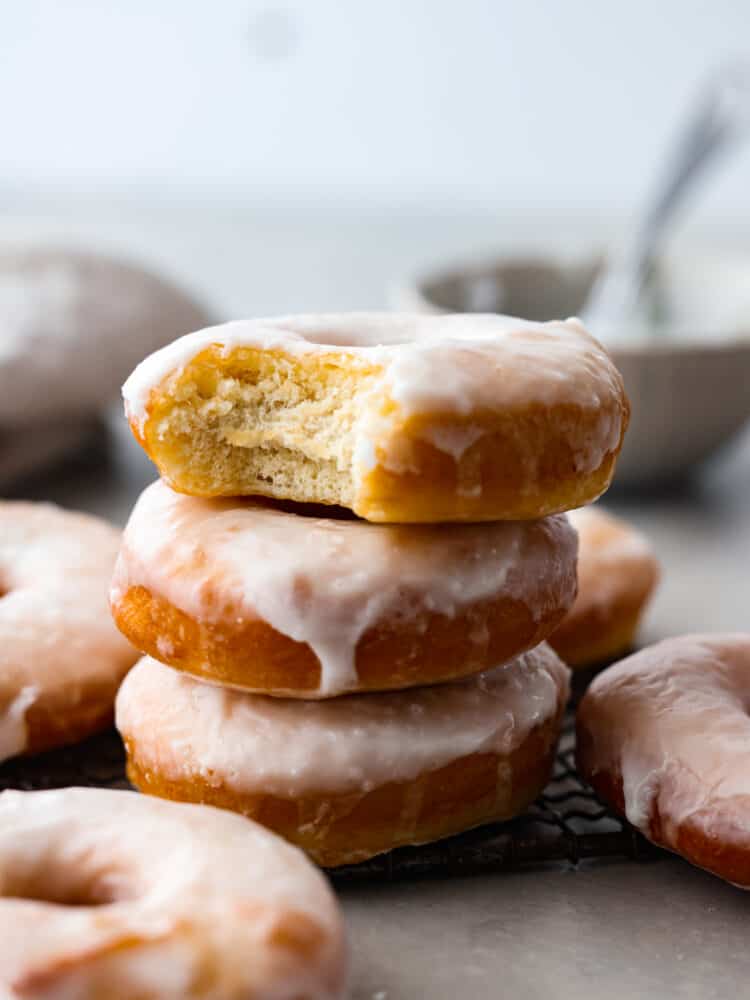
Glazed Donut
I know we are all thinking it, I totally want these glazed donuts right now. What’s stopping you?! This recipe is simple, delicious, and tried and true. I promise they will turn out fluffy and moist because I give you all of my pro tips for frying donuts. I share those in my tip box below. The only other things you need to worry about are not adding in too much flour (which makes a dry dense donut) and not getting too nervous when frying. You’ve got this!
There is something so craveable about a fried dessert. Homemade apple fritters, fluffy irresistible beignets, and cannolis oh my! I think a lot of people shy away from making them because of the hot oil and the unknown of frying something. I’m about to share all of my tips and tricks that will have you making fry donuts like a pro. There is nothing to be scared of and a divine donut waiting for you at the end of this recipe!
Ingredients
Glazed donut dough is a really simple list of ingredients! You will likely already have these things on hand and they are super easy to work with. No eggs or butter required, so the cost is pretty low too. Other things you may want to pick up from the store to make your life easier is some parchment paper and a doughnut cutter. You can find exact measurements below in the recipe card.
Glazed Donut Ingredients
- Heavy Cream: The fat in heavy cream is great for donut dough. It makes them fry up better and gives them great color and texture, and of course flavor!
- Whole Milk: Whole milk has more fat in it and will help the dough become soft and the perfect texture.
- Granulated Sugar: This is how you will sweeten the dough, and it also helps the yeast activate and the bread rise so make sure to add it in.
- Dry Active Yeast: Active dry yeast will give the dough the perfect rise and help those donuts get to the perfect texture.
- Kosher Salt: A high quality salt makes a difference. A pink Himalayan salt or sea salt would work great too.
- All-Purpose Flour: This is the easiest to work with and what you most likely have on hand already.
- Oil: You will need about 2 quarts for frying! I know oil can be expensive, so choose the best quality oil that makes sense for frying these donuts. Vegetable oil or canola oil are good options.
Donut Glaze
- Powdered Sugar: You really do need to use powdered sugar to get the perfect silky smooth and shiny glaze. Make sure you have some on hand!
- Milk: You can use whatever type of milk you want here, I used whole milk since I already had it on hand from the donut dough.
Glazed Donut Recipe
Now that you have all of your ingredients, it’s time to make a glazed donut. If this is your first time making a donut at home, you are going to be so blown away by the flavor! They are worth all of the effort, and they really aren’t hard at all to make. Here is how to make your donut, shape and fry them, and finish them with a simple powdered sugar glaze.
Make Donut Dough and Shape
- Mix: Mix together the cream, milk and sugar in a small bowl. Heat in the microwave 20 seconds at a time until it reaches 110 degrees fahrenheit. If it gets warmer than that, let it cool to 110 before moving to the next step.
- Whisk: Whisk the yeast into the liquid and let it stand for 10 minutes, until frothy. Once frothy, whisk in the melted butter and eggs.
- Knead: Add the flour and salt to the bowl of a stand mixer and stir to distribute the salt. Add the yeast mixture to the flour. Use the dough hook on speed 2 to knead for about 5 minutes, until smooth and elastic.
- Oil Bowl: Oil a large glass bowl. Scrape dough out of the mixing bowl and shape into a ball. Place it in the oiled bowl and turn to coat all the dough in oil.
- Rest: Cover and let rise in a warm place for 1-2 hours, until doubled in size.
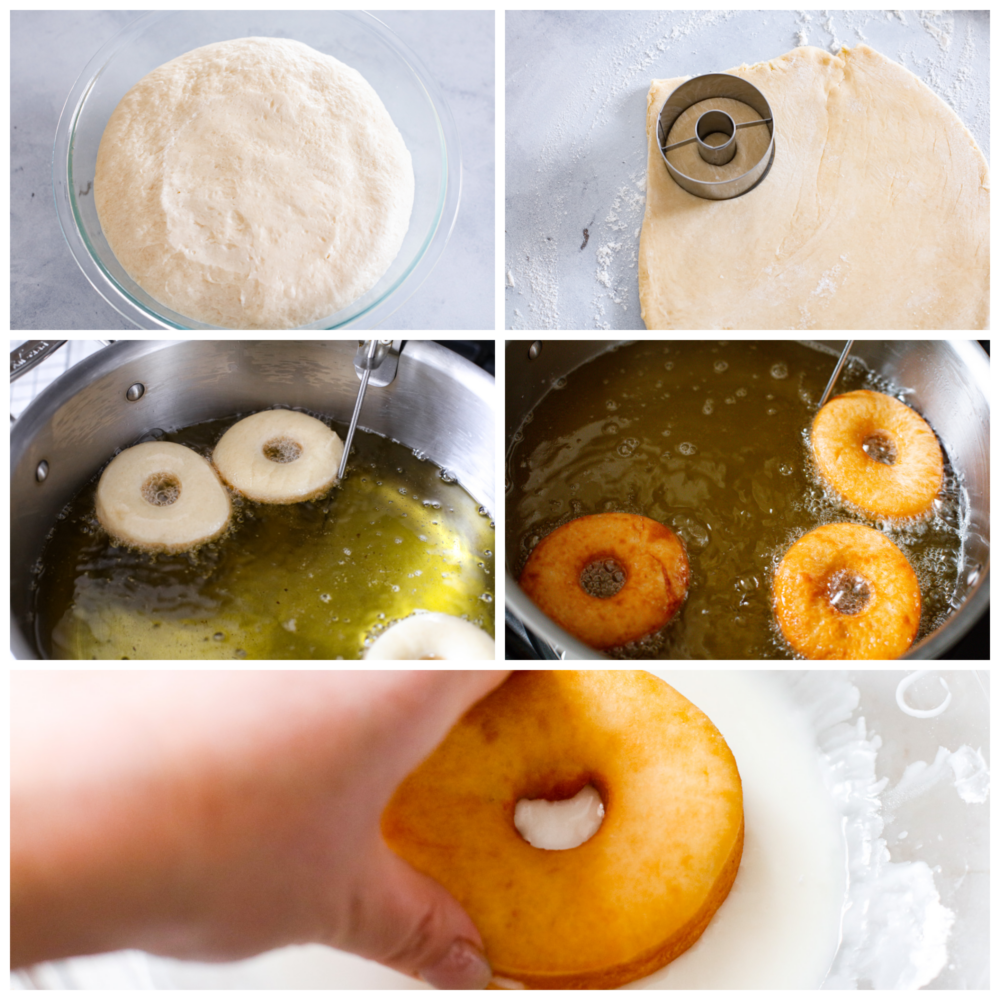
- Roll and Cut: Turn the dough out onto a lightly floured surface and roll out to about ½ inch thick. Use a donut cutter or a 3 inch round cookie cutter to cut out the donuts and use a 1 inch round cookie cutter to cut out the donut holes from the center.
- Knead Scraps and Rest: Gather the scraps of dough back together and knead back into a ball. Cover and let rest for 10-15 minutes before rolling out and cutting more donuts.
- Shape and Cut: Gently reshape the donut rings and holes if needed and let them rest for 10-15 minutes.
Fry and Glaze Donuts
- Heat Oil: Meanwhile, heat the oil in a large, heavy bottomed pot. Use a candy thermometer to keep track of the temperature and heat until it reaches 360 degrees Fahrenheit. While frying you should keep your oil between 350-375, though I found the sweet spot to be 360.
- Make Glaze: Before you start frying, prep your glaze by mixing together the powdered sugar and milk. Also set up your frying station with a cooling rack with paper towels beneath it to catch any dripping oil or glaze.
- Fry: Once the donuts have rested and the oil is the correct temperature, fry 2-3 donuts at a time. Gently lay the donuts into the oil so they fall away from you. This will prevent any splashing oil from splashing at you and burning you. Fry for about 2 minutes per side, until golden brown. Remove with a spider or slotted spoon to the cooling rack.
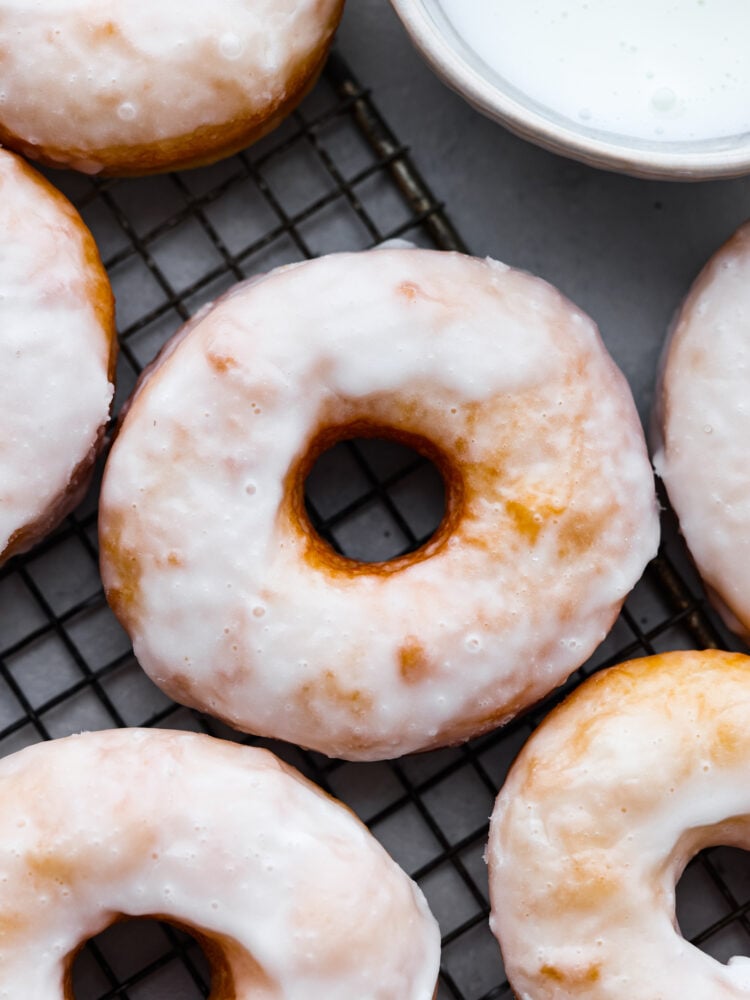
- Glaze: Dip the warm donuts in the glaze. I dipped just the tops of them in the glaze, but you can dip both sides if you would like. Place back on the cooling rack to finish cooling.
Tips for Making Glazed Donuts
The best tips I can give you for making glazed donuts all have to do with frying them. It really is the difference between a perfectly fluffy and moist donut, and one that is dry, overcooked, and a little disappointing. Let me help you make the perfect donuts with these tips!
- Oil Temperature: Maintain your oil heat. It’s important to not let the oil get too hot or too cool while you’re frying. This may require some adjusting of the heat during the process to prevent it from changing too much between batches. Don’t overcrowd the pan. Frying too many donuts at a time will cause the temperature of the oil to drop too quickly and result in oily donuts. You may also have your donuts expand into each other and make them harder to flip while maintaining their shape.
- About the Glaze: Customize your glaze flavor. Add ½-1 teaspoon of vanilla, maple, orange or lemon extract to the glaze for a twist on the classic glazed donut.
- Fry Like a Pro: Have everything set up before you start frying. Have the donuts resting and within reach, the pot of hot oil with the candy thermometer in it, a cooling rack with paper towels beneath it, the glaze ready for dipping, and a spider or slotted spoon. Being ready to fry and dip will make things go much smoother and safer.
Storing Leftovers
We all know these glazed donuts won’t last long! They will stay fresh for about as long as the ones from the store will, so they really are best eaten fresh. Here is how to store leftovers.
- On the Counter: You can store your leftover donuts in an airtight container or paper bag on the counter for up to 4 days. They will dry out the longer you wait to eat them, so try to eat them fresh!
Glaze Donuts
Ingredients
- ½ cup heavy cream
- ½ cup whole milk
- ¼ cup granulated sugar
- 4 teaspoons dry active yeast
- ¾ teaspoon kosher salt
- 3 1/2-4 cups all-purpose flour
- Extra flour for rolling
- 2 quarts oil for frying
Glaze
- 2 cups powdered sugar
- ⅓ cup milk
Instructions
-
Mix together the cream, milk and sugar in a small bowl. Heat in the microwave 20 seconds at a time until it reaches 110 degrees fahrenheit. If it gets warmer than that, let it cool to 110 before moving to the next step.
-
Whisk the yeast into the liquid and let it stand for 10 minutes, until frothy. Once frothy, whisk in the melted butter and eggs.
-
Add the flour and salt to the bowl of a stand mixer and stir to distribute the salt. Add the yeast mixture to the flour. Use the dough hook on speed 2 to knead for about 5 minutes, until smooth and elastic.
-
Oil a large glass bowl. Scrape dough out of the mixing bowl and shape into a ball. Place it in the oiled bowl and turn to coat all the dough in oil.
-
Cover and let rise in a warm place for 1-2 hours, until doubled in size.
-
Turn the dough out onto a lightly floured surface and roll out to about ½ inch thick. Use a donut cutter or a 3 inch round cookie cutter to cut out the donuts and use a 1 inch round cookie cutter to cut out the donut holes from the center.
-
Gather the scraps of dough back together and knead back into a ball. Cover and let rest for 10-15 minutes before rolling out and cutting more donuts.
-
Gently reshape the donut rings and holes if needed and let them rest for 10-15 minutes.
-
Meanwhile, heat the oil in a large, heavy bottomed pot. Use a candy thermometer to keep track of the temperature and heat until it reaches 360 degrees Fahrenheit. While frying you should keep your oil between 350-375, though I found the sweet spot to be 360.
-
Before you start frying, prep your glaze by mixing together the powdered sugar and milk. Also set up your frying station with a cooling rack with paper towels beneath it to catch any dripping oil or glaze.
-
Once the donuts have rested and the oil is the correct temperature, fry 2-3 donuts at a time. Gently lay the donuts into the oil so they fall away from you. This will prevent any splashing oil from splashing at you and burning you. Fry for about 2 minutes per side, until golden brown. Remove with a spider or slotted spoon to the cooling rack.
-
Dip the warm donuts in the glaze. I dipped just the tops of them in the glaze, but you can dip both sides if you would like. Place back on the cooling rack to finish cooling.
Nutrition
from The Recipe Critic https://ift.tt/S9XZz6m
via IFTTT

