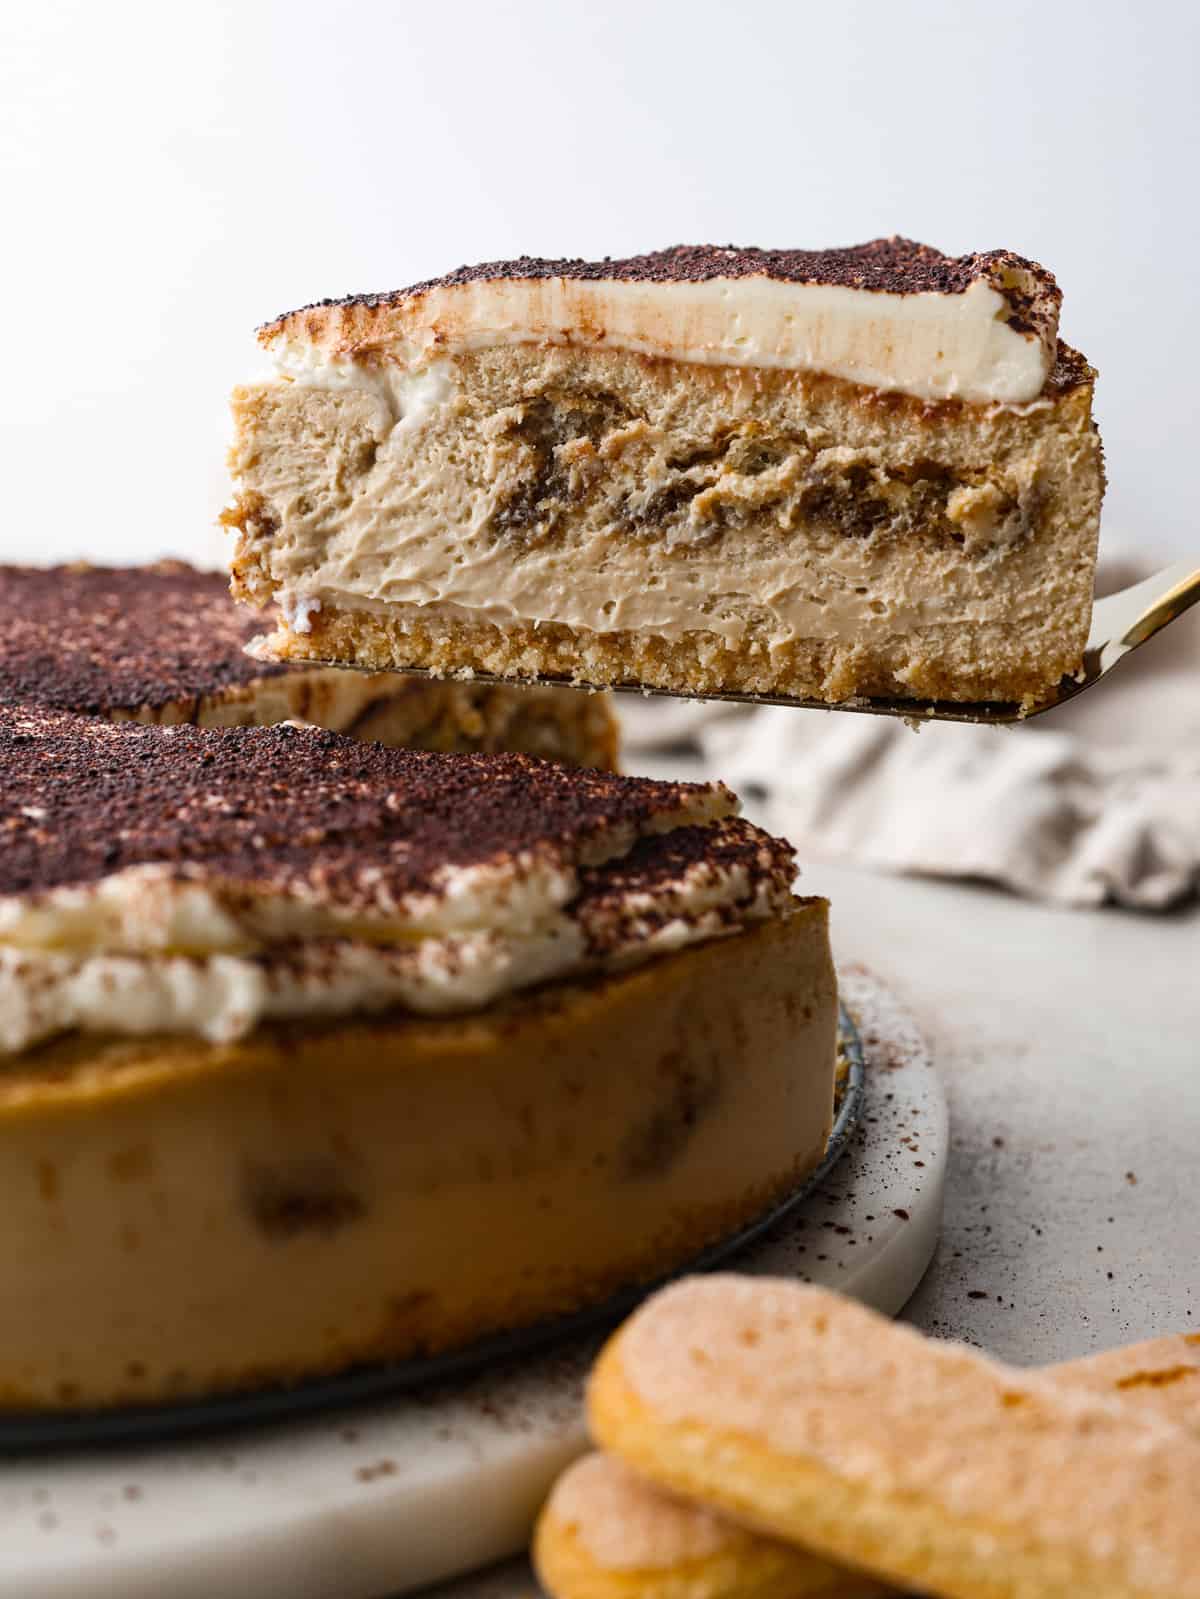
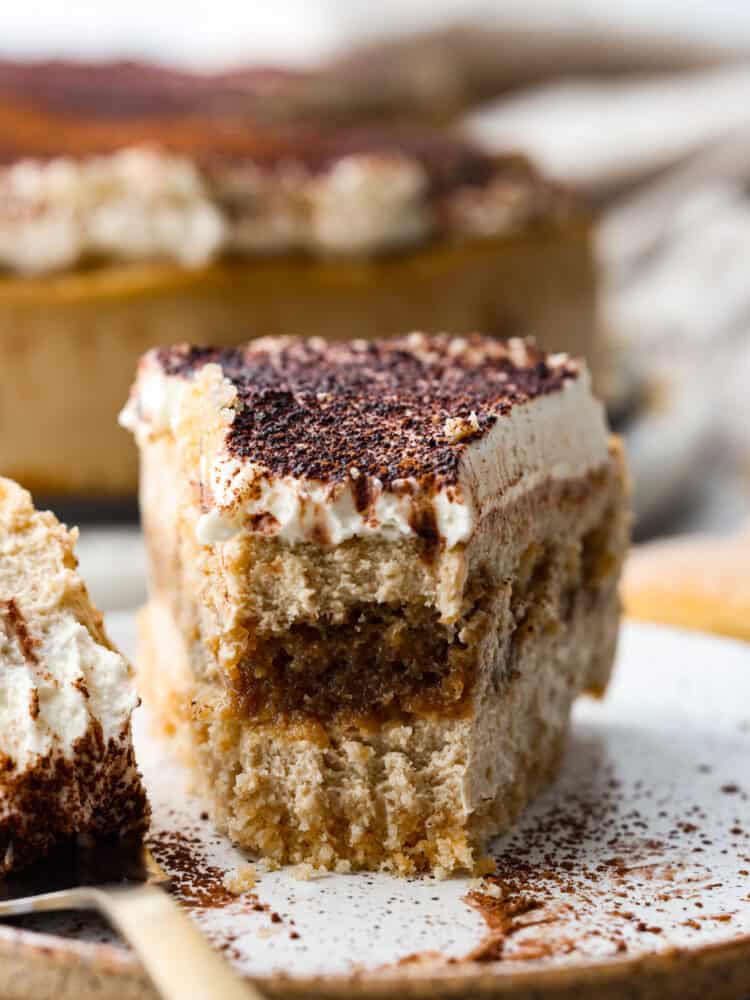
This decadent and delicious tiramisu cheesecake is creamy and will melt in your mouth with every bite. Trust me when I tell you that you will want to make this dessert every time you have guests!
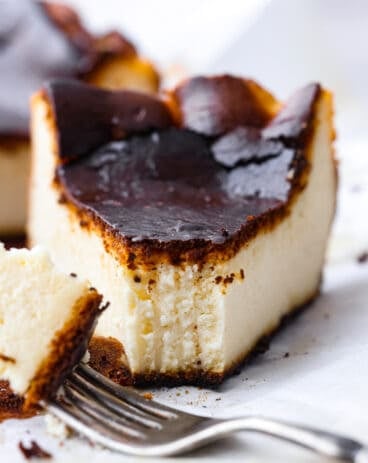
If you know me, then you know that I LOVE cheesecake! It’s the perfect dessert that really is the perfect finishing touch on any meal. Try out some of my favorite cheesecake recipes like this New York Cheesecake, these Mini Cheesecakes, or this super unique Basque Cheesecake!
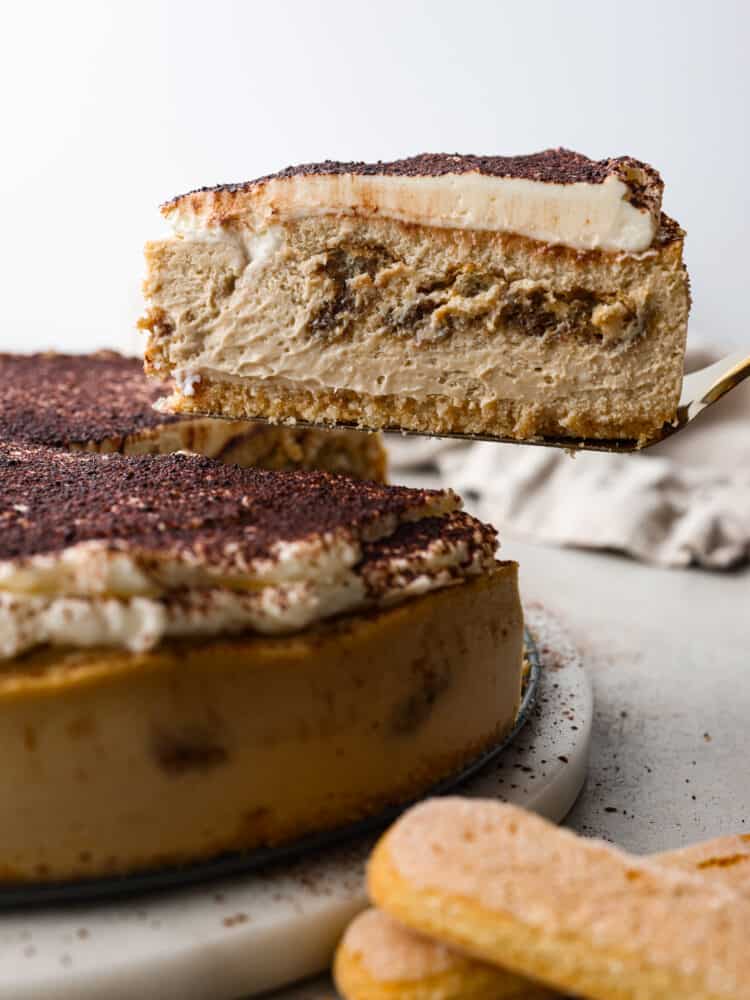
What is Tiramisu Cheesecake?
Get ready to eat the richest, most flavorful, and delicious cheesecake you have ever had. If you are a lover of tiramisu (or if you have never had it before!), then I cannot wait for you to try out this cheesecake. Tiramisu is an Italian dessert that is coffee flavored and topped with creamy mascarpone. It uses ladyfingers in the crust as well as in the filling, and these soak up all of the flavors. They are key to any tiramisu recipe!
This cheesecake is a twist on classic tiramisu because it has the flavor of tiramisu and is topped with mascarpone, but the middle is a creamy and delicious cheesecake. I mean, who can complain when you can combine the flavor of tiramisu with the delicious, creamy texture of cheesecake?! This is so delicious and elegant that you will want to bake it for every occasion.
Ingredients in Tiramisu Cheesecake
The ingredients in this tiramisu cheesecake recipe blend together and complement each other so well! I love any chance that I have to use ladyfingers because they bring such a delicious texture to any dessert. Check out the recipe card at the bottom of the post for exact measurements.
Crust
- Vanilla Wafer Cookies: These bring that sweet flavor to the crust.
- Ladyfingers: These are dry, which makes them perfect for a crust.
- Butter: I used unsalted butter in the crust.
Filling
- Cream Cheese: Let this soften up before you mix it in so that there aren’t any lumps.
- Mascarpone Cheese: I like to let this come to room temperature so that it mixes in nicely and smoothly.
- Granulated Sugar: This adds in a sweet element to counter the tangy cream cheese.
- Espresso: Strong brewed espresso works best for this recipe.
- Kahlua: If you chose not to use alcohol, then you can substitute this with additional espresso.
- Vanilla Extract: This adds a splash of vanilla flavoring.
- Eggs: I always use large eggs when I am baking.
- Ladyfingers: These have a dry texture, so they absorb a lot of flavors.
- Brewed Coffee: This adds to the classic coffee flavor of tiramisu.
Whipped Mascarpone Topping for Tiramisu Cheesecake
- Mascarpone: This ingredient should be chilled before you mix it in as the topping.
- Heavy Whipping Cream: Use this straight from the fridge. It adds a delicious and silky texture to the whipped topping.
- Powdered Sugar: The powdered sugar sweetens up the mascarpone and dissolves easily, creating a smooth base.
- Vanilla Extract: This adds some additional sweet flavoring to the tiramisu cheesecake.
How to Make Tiramisu Cheesecake
If you are doubting your ability to make a cheesecake from home, don’t! I know they sound intimidating, but once you do it once, you will never go back. Try this recipe out because not only is it delightful to the taste, but it’s not too difficult to make! Don’t get discouraged by the long instructions… I help you along every step of the way so that you can’t mess this up!
Crust
- Prep: Preheat the oven to 325 degrees Fahrenheit. Prepare a 10-inch springform pan by spraying the sides with cooking spray and set aside.
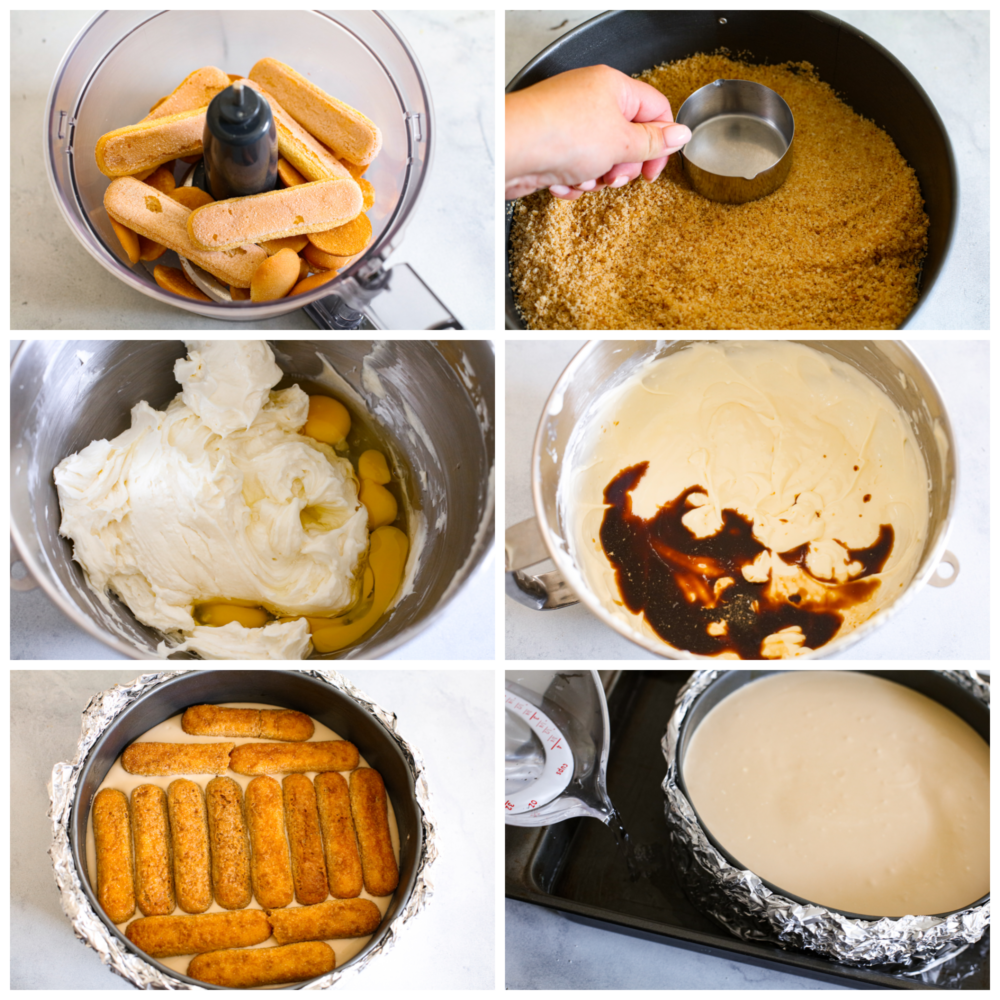
- Blend: In a food processor, blend the vanilla wafers and ladyfingers until they are fine crumbs, and then add the melted butter and pulse together. This should resemble damp sand.
- Press: Pour the crumb mixture into the prepared springform pan and press evenly into the pan. Use the bottom of a flat glass or a flat measuring cup to really press it in well and get a nice, even crust.
- Bake: Bake for 8 minutes and allow to cool completely.
Tiramisu Cheesecake Filling
- Beat: Add the softened cream cheese to the mixing bowl of a stand mixer and beat with a paddle at medium/high speed for about 1 minute. Scrape down the sides and bottom of the bowl and beat for 30 seconds more.
- Combine and Scrape: Add the mascarpone and sugar and mix at medium/low speed until just combined. Scrape the bowl again and mix for 30 seconds.
- Add Eggs: Add eggs and beat on low speed until combined, about 30 seconds-1 minute. Scrape the bowl again.
- Mix until Smooth: Add espresso, Kahlua, and vanilla extract. Beat into the cream cheese mixture until just combined. At this point, your batter should be smooth and fairly runny.
Prepare The Pan
- Wrap in Foil: Using 18-inch heavy-duty aluminum foil, carefully wrap the outside of the springform pan with four sheets of foil. You can use regular foil, but it may take a couple more sheets to ensure the water does not get into the pan.
- Add to Roasting Pan: Place the wrapped pan in a deep roasting pan. You can alternatively use a baking sheet, so long as the sides are about 2 inches deep.
- Add Batter: Add ½ of the cheesecake batter to the springform pan on top of the cooled crust. Quickly dip both sides of the ladyfingers into the brewed coffee and layer them across the cheesecake batter until it is mostly covered. Top with the remaining half of the cheesecake batter.
Bake The Tiramisu Cheesecake
- Make Water Bath: Using very hot water, add water to the baking pan until it reaches halfway up the pan. Carefully move the pan to the center rack of the oven.
- Bake: Bake for 1 hour before checking the cheesecake’s consistency. A slight jiggle of the pan (while still in the oven) should tell you if it’s ready or needs more time. The cheesecake should be jiggly but not liquid. If it seems very liquidy still, give it 15 more minutes and check it again.
- Let Cheesecake Cool IN THE OVEN: Once the cheesecake is set yet still jiggly, turn the oven off but leave the cheesecake in the oven for another hour or so until the oven has cooled down. Resist the temptation to open the oven during this time! The purpose of this step is to allow the cheesecake to cool slowly as the oven cools. Doing this will prevent it from cracking, as one of the biggest reasons cheesecakes crack is the drastic temperature change going from the hot oven into the much cooler kitchen.
- Chill: Once the oven and the cheesecake are cooled, remove it from the oven. Then, carefully remove the foil lining the pan. Chill in the fridge for at least 6 hours.
- Release: Before serving this tiramisu cheesecake, run a knife around the edge of the pan. This will ensure an easy release when the springform is removed.
Whipped Mascarpone Topping
- Beat: In a large bowl, beat the cold mascarpone cheese until smooth. Slowly add in the heavy cream until incorporated and not lumpy. Scrape down the sides and bottom of the bowl as needed.
- Whip: Add the powdered sugar and vanilla and switch to the whisk attachment. Whip the mixture until fluffy and medium-stiff peaks form.
- Add to Cheesecake: Either smooth the cream or pipe it over the top of the chilled cheesecake and add onto it a quick dusting of cocoa powder. If waiting to serve, do not dust with cocoa powder until ready to serve.
Baking Tips
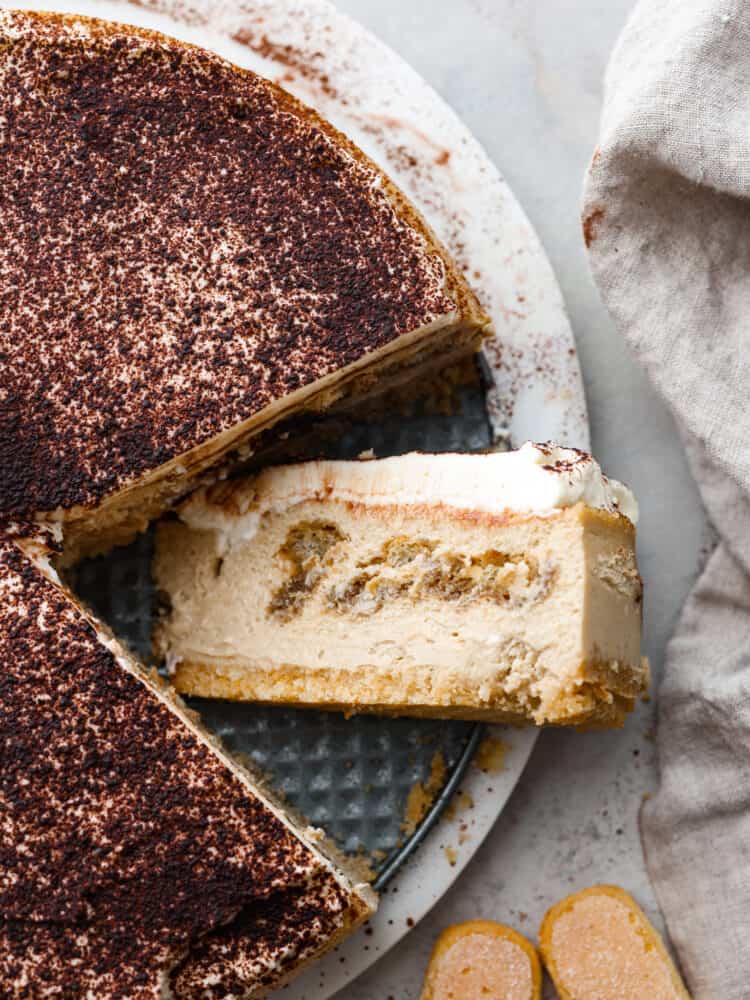
Don’t let this tiramisu cheesecake intimidate you! Cheesecake can be made by anyone, and this one is especially great because it has a whipped topping… A little secret to covering any cracks that you might have in the cheesecake!
- Room Temperature Ingredients: The easiest way to achieve a smooth cheesecake filling is to start with room temperature ingredients. I like to set my cream cheese, mascarpone, and eggs out on the counter 2-3 hours before I plan on baking. Additionally, I scrape down the bowl multiple times throughout the process to make sure nothing sticks to the bottom of the bowl.
- Kahlua Is Optional: If you like the kick that Kahlua adds to tiramisu, go ahead and add it as directed in the recipe card. If you prefer no alcohol in your cheesecake, simply substitute the ¼ cup of Kahlua for an additional ¼ cup of strong espresso, bringing the total amount of espresso up to ½ cup.
- Cracks in Cheesecake: I admit that the top of my cheesecake cracked a little and looked a little bubbled. The good thing is you can’t even tell because it gets topped with the whipped mascarpone! Smooth a layer of that over it and dust with cocoa powder, and your guests will be none the wiser.
- Heavy Duty 18-Inch Foil: You may be tempted to use regular-width foil, but don’t do it! The 18-inch foil will go high up on all sides of your cheesecake pan, which will help prevent water from getting inside. I’ve baked a lot of cheesecakes, and using 3-4 layers of the thicker, wider foil has been the most effective way to avoid a soggy crust.
How to Store Leftovers
If you are lucky enough to have any tiramisu cheesecake leftover, then you are in luck. This stores extremely well and you can be eating it for days! In fact, you may want to make an extra while you are at it. Then you can have cheesecake all week long!
- In the Refrigerator: Once you are ready to store your leftovers, place the tiramisu cheesecake in an airtight container and place it in your fridge. It will last about five days!
Tiramisu Cheesecake
Ingredients
Crust
- 30 vanilla wafer cookies
- 6 lady fingers
- ¼ cup unsalted butter melted
Filling
- 3 8- ounce packages cream cheese, softened
- 8 ounces mascarpone cheese, room temperature
- 1 cup granulated sugar
- ¼ cup strong brewed espresso
- ¼ cup Kahlua (may be substituted for additional espresso if choosing not to use alcohol)
- 2 teaspoons vanilla extract
- 4 large eggs, room temperature
- 12-14 ladyfingers
- ¾ cup brewed coffee
Whipped Mascarpone Topping
- 8 ounces mascarpone, cold
- 1 ¼ cup heavy cream, chilled
- ½ cup powdered sugar
- ½ teaspoon vanilla extract
Instructions
Crust
-
Preheat the oven to 325℉. Prepare a 10-inch springform pan by spraying the sides with cooking spray and set aside.
-
In a food processor, blend the vanilla wafers and ladyfingers until they are fine crumbs, and then add the melted butter and pulse together. This should resemble damp sand.
-
Pour the crumb mixture into the prepared springform pan and press evenly into the pan. Use the bottom of a flat glass or a flat measuring cup to really press it in well and get a nice, even crust.
-
Bake for 8 minutes and allow to cool completely.
Filling
-
Add the softened cream cheese to the mixing bowl of a stand mixer and beat with a paddle at medium/high speed for about 1 minute. Scrape down the sides and bottom of the bowl and beat for 30 seconds more.
-
Add the mascarpone and sugar and mix at medium/low speed until just combined. Scrape the bowl again and mix for 30 seconds.
-
Add eggs and beat on low speed until combined, about 30 seconds-1 minute. Scrape the bowl again.
-
Add espresso, Kahlua, and vanilla extract. Beat until just combined. At this point, your batter should be smooth and fairly runny.
Prepare The Pan
-
Using 18-inch heavy-duty aluminum foil, carefully wrap the outside of the springform pan with four sheets of foil. You can use regular foil, but it may take a couple more sheets to ensure the water does not get into the pan.
-
Place the wrapped pan in a deep roasting pan. You can alternatively use a baking sheet, so long as the sides are about 2 inches deep.
-
Add ½ of the cheesecake batter to the springform pan on top of the cooled crust. Quickly dip both sides of the ladyfingers into the brewed coffee and layer them across the cheesecake batter until it is mostly covered. Top with the remaining half of the cheesecake batter.
Bake The Cheesecake
-
Using very hot water, add water to the baking pan until it reaches halfway up the pan. Carefully move the pan to the center rack of the oven.
-
Bake for 1 hour before checking the cheesecake’s consistency. A slight jiggle of the pan (while still in the oven) should tell you if it’s ready or needs more time. The cheesecake should be jiggly but not liquid. If it seems very liquidy still, give it 15 more minutes and check it again.
-
Once the cheesecake is set yet still jiggly, turn the oven off but leave the cheesecake in the oven for another hour or so until the oven has cooled down. Resist the temptation to open the oven during this time! The purpose of this step is to allow the cheesecake to cool slowly as the oven cools. Doing this will prevent it from cracking, as one of the biggest reasons cheesecakes crack is the drastic temperature change going from the hot oven into the much cooler kitchen.
-
Once the oven and the cheesecake are cooled, remove from the oven and carefully remove the foil lining the pan. Chill in the fridge for at least 6 hours.
-
Before serving, run a knife around the edge of the pan to ensure an easy release when the springform is removed.
Whipped Mascarpone Topping
-
In a large bowl, beat the cold mascarpone cheese until smooth. Slowly add in the heavy cream until incorporated and not lumpy. Scrape down the sides and bottom of the bowl as needed.
-
Add the powdered sugar and vanilla and switch to the whisk attachment. Whip the mixture until fluffy and medium-stiff peaks form.
-
Either smooth the cream or pipe it over the top of the chilled cheesecake and dust it with cocoa powder. This cheesecake is best served right after topping. If waiting to serve, do not dust with cocoa powder until ready to serve.
Nutrition
from The Recipe Critic https://ift.tt/rSD13Pb
via IFTTT

